
How Do I View the Audit Trail for an Absence?
Table of Contents
Every absence in TimeWellScheduled has a built-in audit trail that records a full history of changes – from when it was first added through every status update.
To view an absence audit trail:
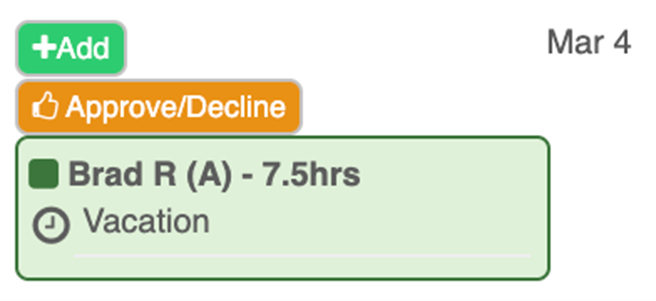
- Go to ABSENCES.
- Find the date of the absence.
- Click the history icon on the absence entry.
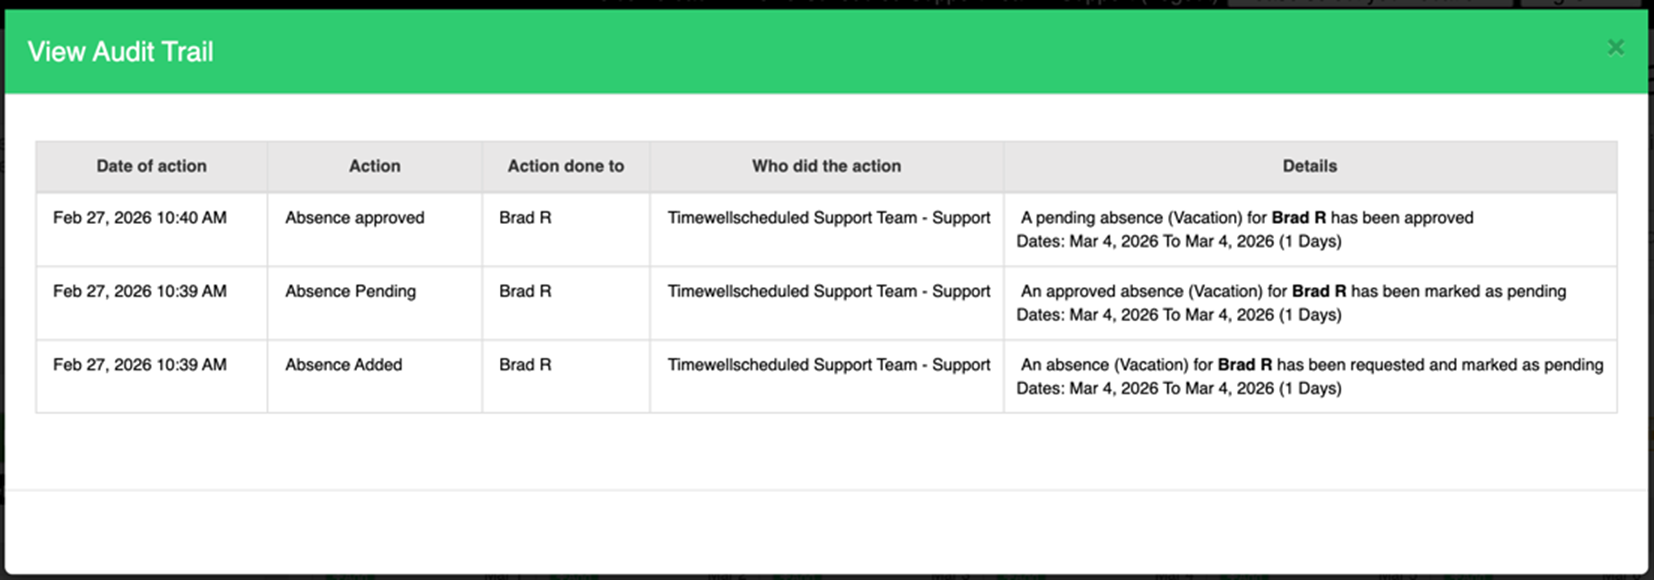
- The “View Audit Trail” window will open, showing a table with the following columns:
- Date of action – the date and time the change was made
- Action – what happened (e.g., Absence Added, Absence Pending, Absence Approved)
- Action done to – the employee the absence belongs to
- Who did the action – the user or team that made the change
- Details – a plain-language description of the change, including absence type and dates
What the audit trail tracks:
The audit trail captures the full lifecycle of an absence, including when it was requested, when it was moved to pending, when it was approved or declined, and any other status changes.
Note: Entries are listed in reverse chronological order – the most recent action appears at the top.