
This article will show you how to create a new training group, add files and assign to employees so they can complete them.
Table of Contents
Upload Your Files
First, upload any files the employees may need to complete:
- Go to LIBRARY
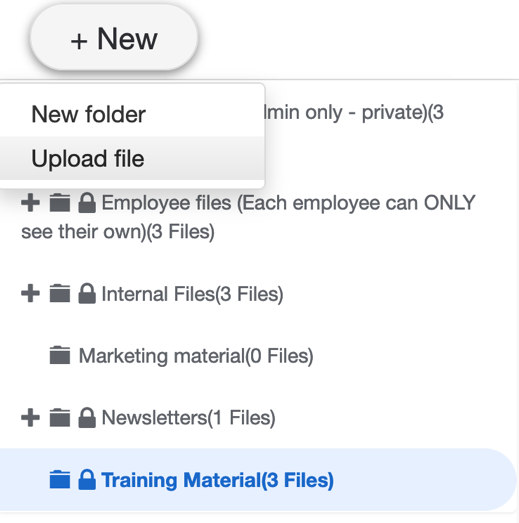
- Click the TRAINING MATERIALS folder on the left side
- Click the +NEW button
- Pick UPLOAD FILE
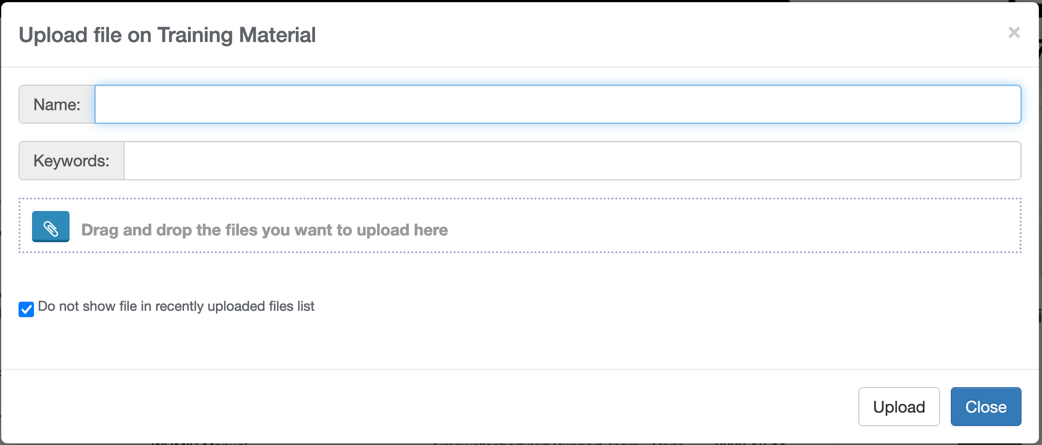
- Complete the form and click UPLOAD
- Repeat for all files
Create Your Training/Onboarding Group
Next, create your training group:
- Go to MANAGE MY BUSINESS
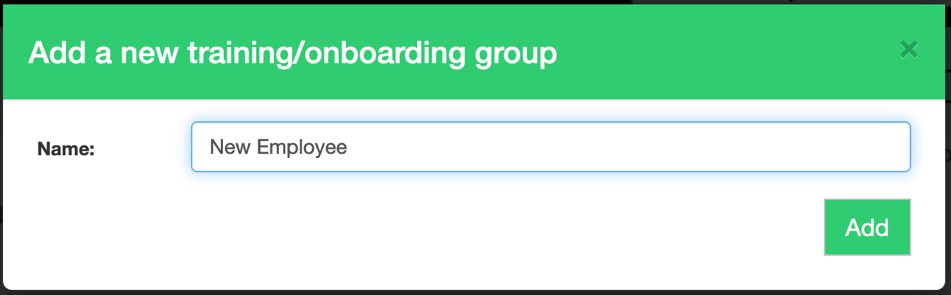
- Go to TRAINING/ONBOARDING GROUPS
- Click ADD
Add Training/Onboarding Items
Time to add the items to the new group:
- Go to MANAGE MY BUSINESS
- Go to MANAGE TRAINING/ONBOARDING ITEMS
- Click ADD
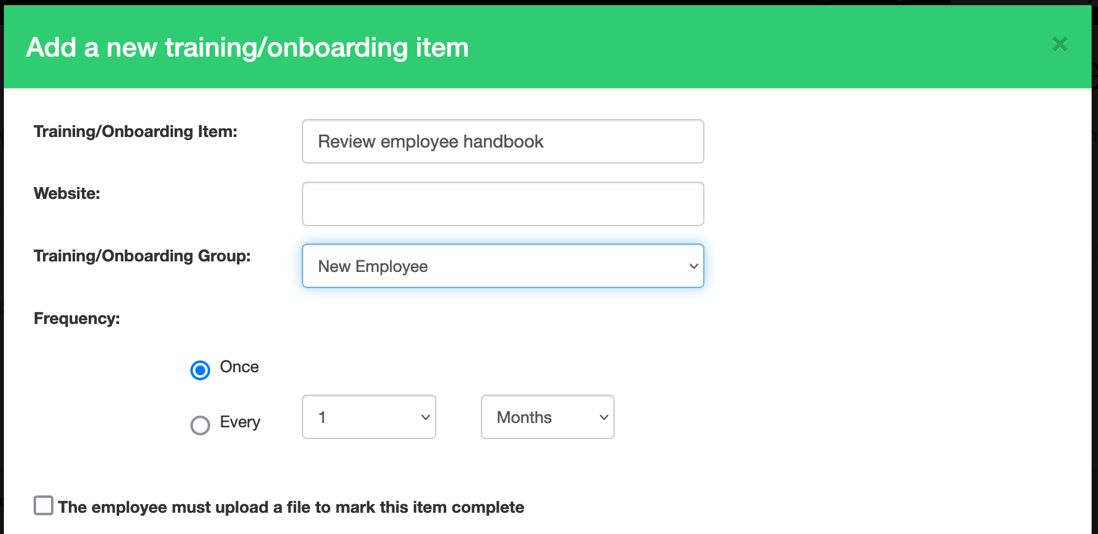
- Complete the form
- If the requirement is to visit a website (say online training) add the URL
- Pick the group
- You can mark this as a one time event or on going
- If the employee requires to download a form and upload, check off the “upload a file” checkbox (to assign a file, see next step)
- You can optionally pick employees here too, or see follow up steps
- Click ADD
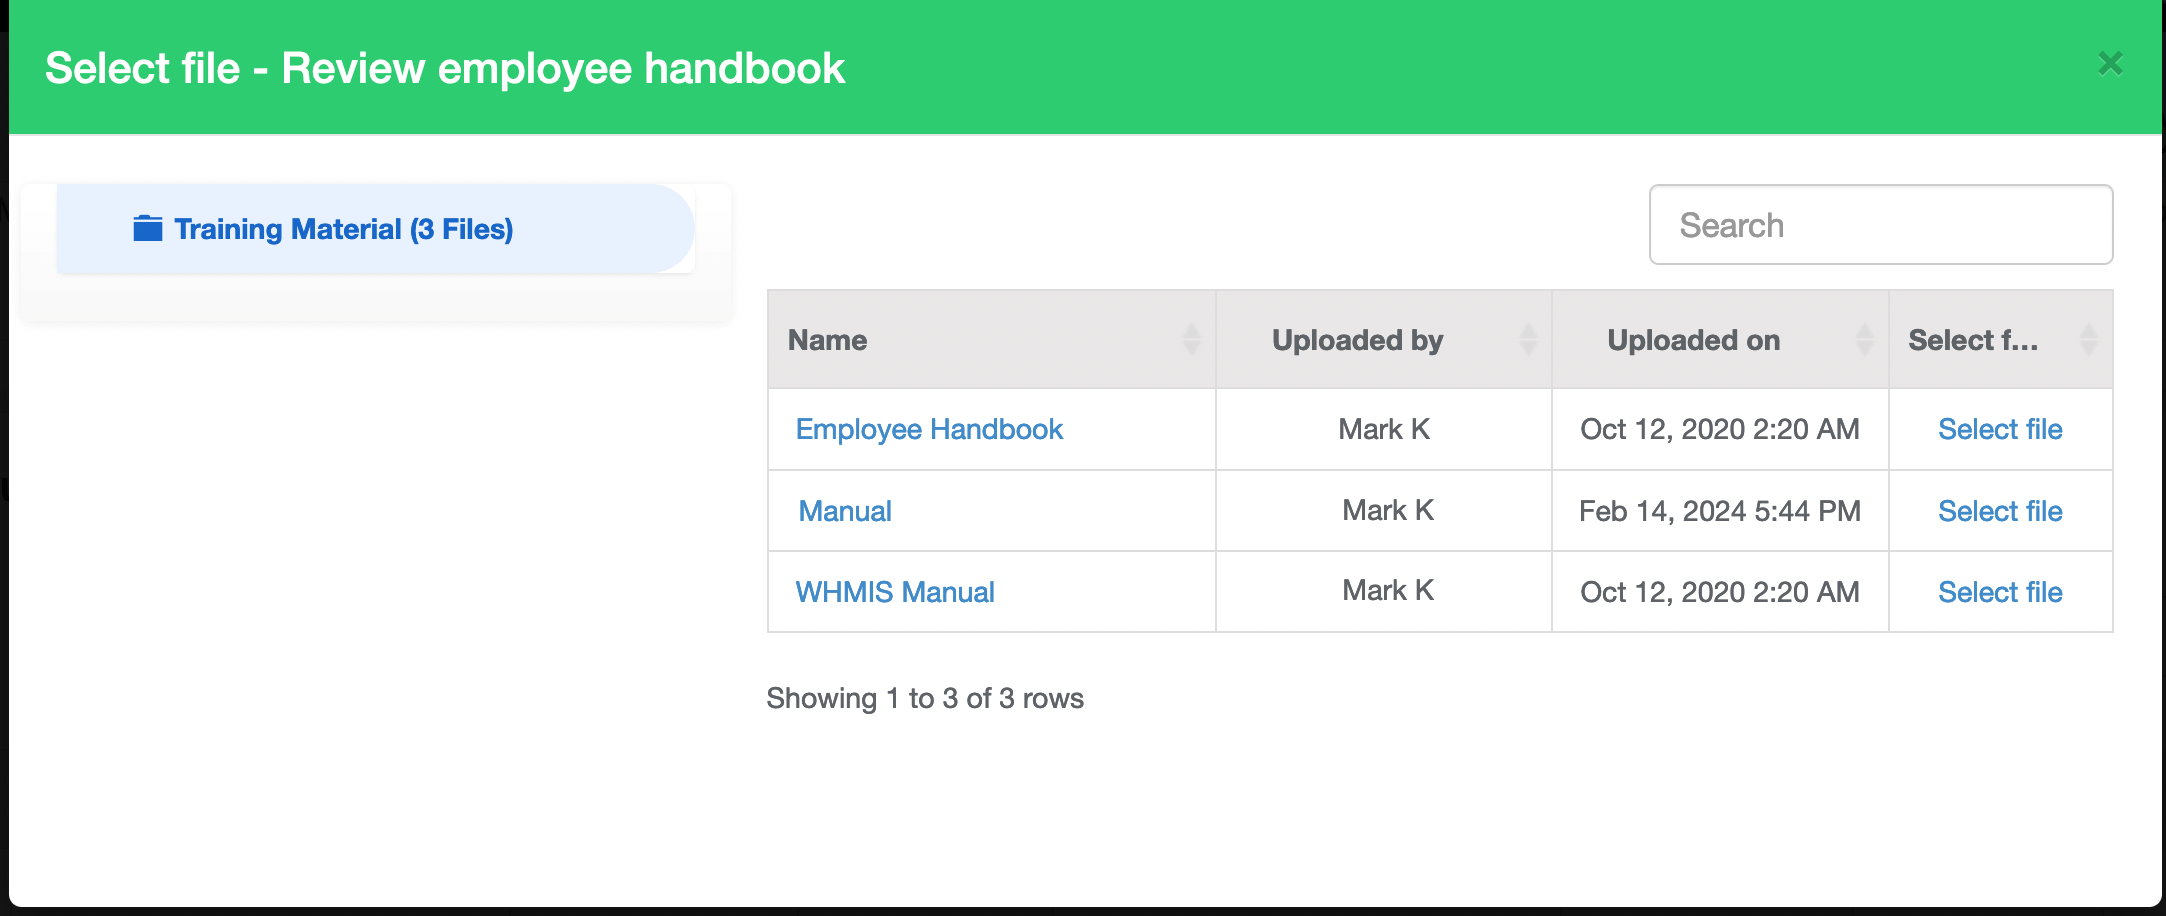
How To Add Files to a Training/Onboarding Item
Once the item has been added
- Load the list of items
- Click SELECT FILE

- Find the file, click SELECT FILE
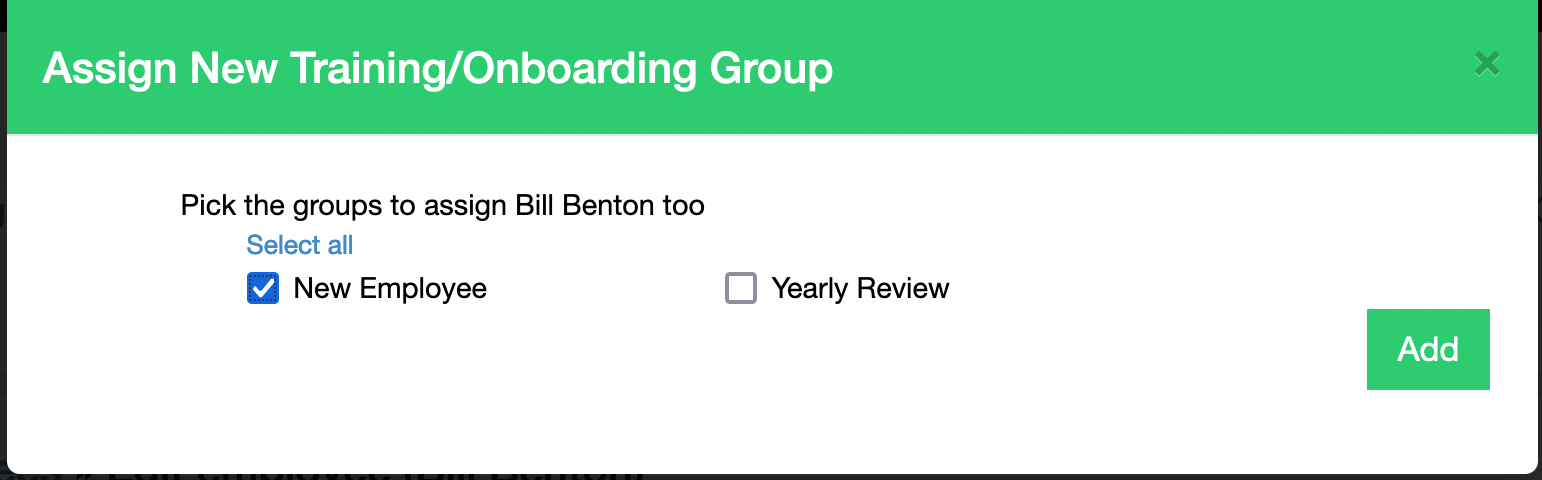
How Do I Assign Employees to a Training/Onboarding Group?
To assign an employee to a group
- Go to EMPLOYEES
- Find the employee, click EDIT
- Go to the TRAINING/ONBOARDING tab
- Click ASSIGN NEW TRAINING/ONBOARDING GROUP
- Pick the group, click ADD
How Do I See What Has/Hasn’t Been Completed
To see what is
- Overdue
- Coming due
- Not due
- Reviewed
You can see by
- Go to TRAINING/ONBOARDING
- Find the section, you will see the items for each employee listed

What Do Employees See?
When an employee logs in, on their dashboard they will see items to complete.
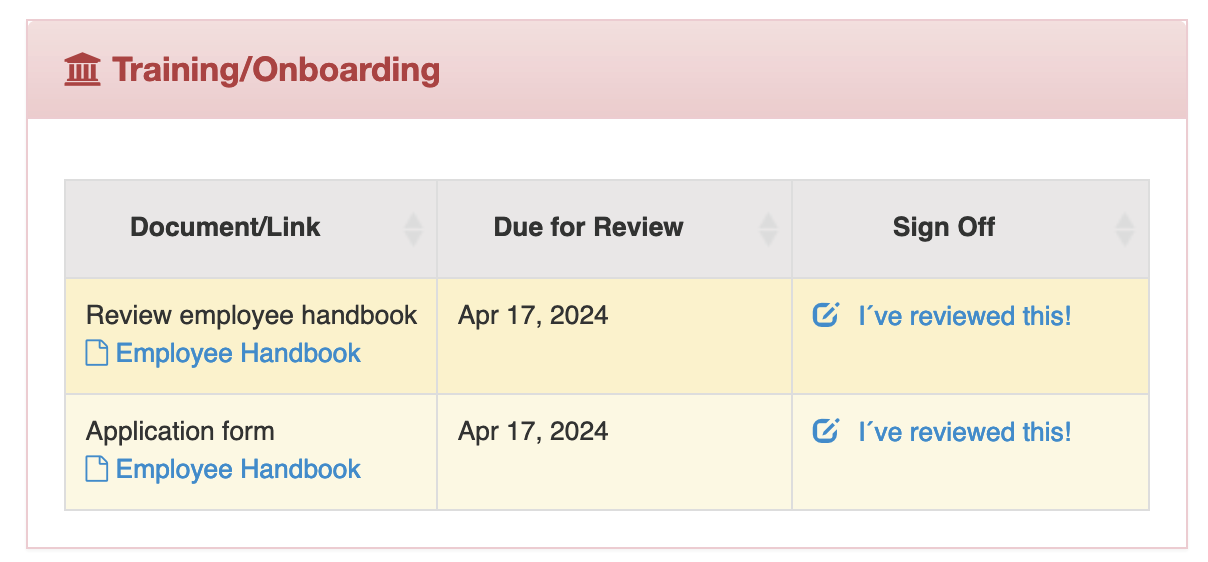
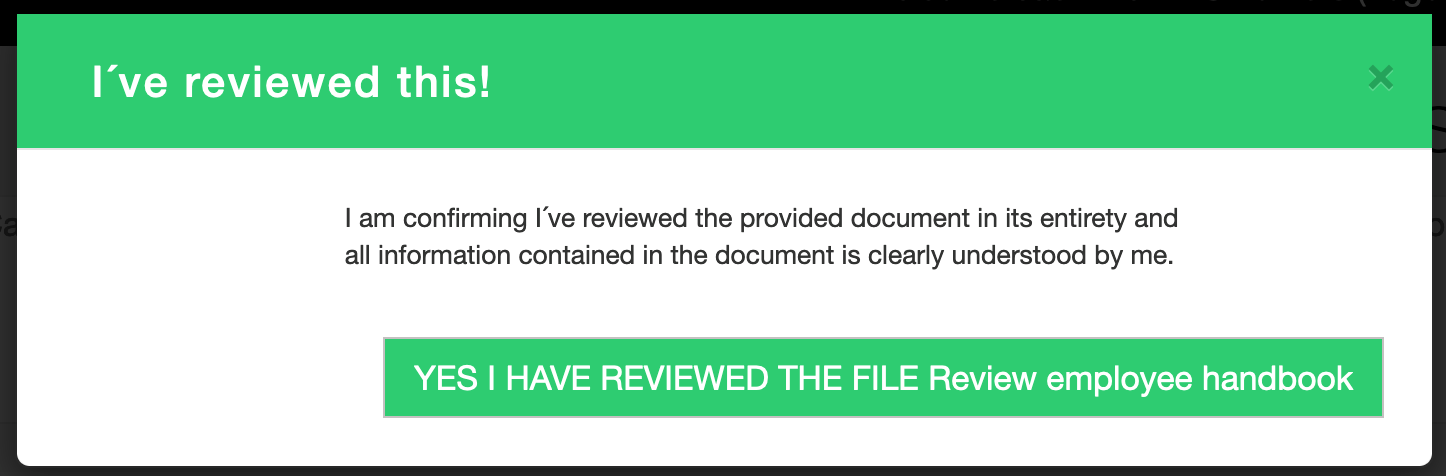
If the item just needs confirmation it’s reviewed, it will show like this
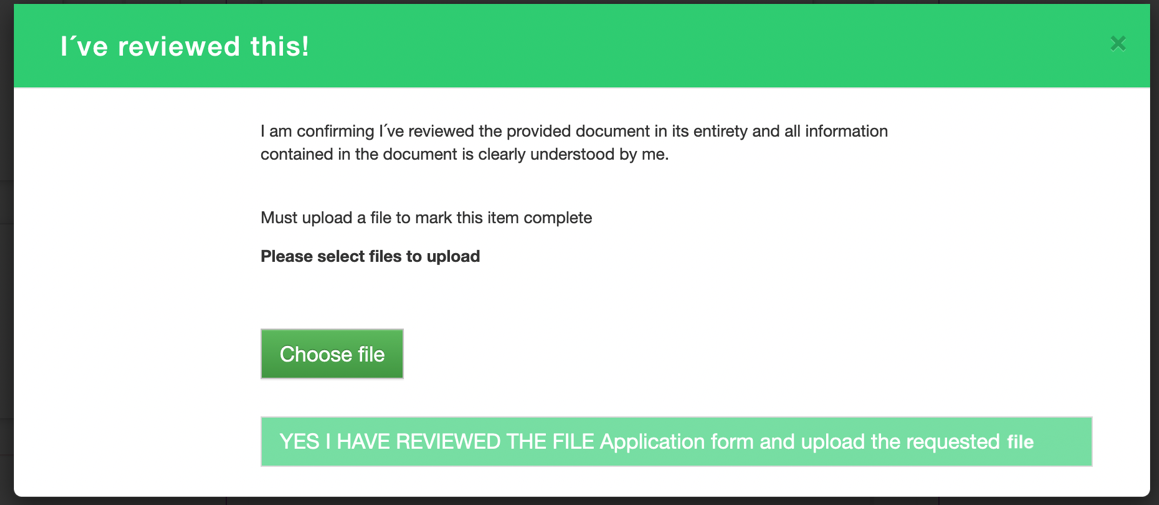
If the item requires a file uploaded back up, it will show like this
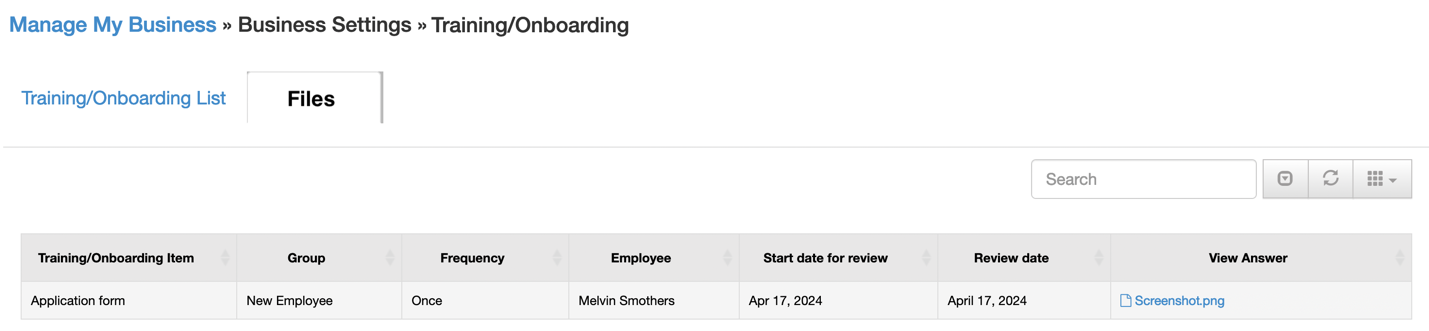
How Do I See Uploaded Files
To see the files uploaded in bulk,
- Go to TRAINING/ONBOARDING
- Go to the FILES tab
- You will see the files uploaded by all employees
To see the files uploaded by employee,
- Go to EMPLOYEES
- Find the employee, click EDIT
- Go to the TRAINING/ONBOARDING tab
- Find the item, click UPLOADED FILE